      |
:: By Mary Ruth Yoe
:: Photography by Dan Dry
![]()
Lite of the mind
(a light-hearted look at all things Chicago)
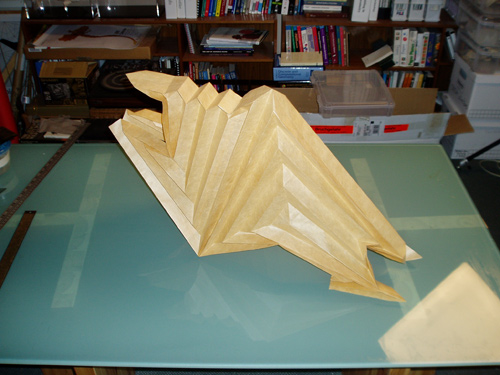
The Assyrian (folda)Bull
 Origamist Robert J. Lang has been fascinated by folding paper since he
was six. A Caltech-trained physicist and engineer who has used origami
theory on projects from automobile-airbag folding to a space-telescope
prototype, Lang has developed almost 500 compositions—including this
box-pleat rendition of the Oriental Institute’s “Assyrian Bull,” a
human-headed winged bull that guarded King Sargon II’s throne room
in the 8th century BC.
Origamist Robert J. Lang has been fascinated by folding paper since he
was six. A Caltech-trained physicist and engineer who has used origami
theory on projects from automobile-airbag folding to a space-telescope
prototype, Lang has developed almost 500 compositions—including this
box-pleat rendition of the Oriental Institute’s “Assyrian Bull,” a
human-headed winged bull that guarded King Sargon II’s throne room
in the 8th century BC.
Commentary
By Robert J. Lang
Origami is the art of folding paper into decorative or artistic forms. When Mary Ruth Yoe, the editor of University of Chicago Magazine, first contacted me about folding something for the magazine from origami, it brought back a host of memories. This was not my first contact with the university; I had spent a memorable (and rather hot) summer in Hitchcock Hall in 1977 in a summer math program, and one of my early origami designs – a mask of Tutankhamen, which was published in my first book a few years later – was designed that summer when that first American exhibition of Tut’s tomb came to the Field Museum, co-sponsored by the Oriental Institute.
Tut was, of course, long gone, but Mary Ruth suggested that I design and fold something symbolic of the university, and sent me a range of pictures: the “C” logo, various gargoyles, and a photograph of the Assyrian Bull sculpture at the Oriental Institute. I was immediately drawn to this last: it had distinctive features that would lend themselves to origami representation, but it also posed significant challenges: I would need to obtain four legs, tail, body, wings, and a human head. And the head really should have some details in the face: the beard was prominent, which meant that I should go for all of the other facial features as well.
There are different genres of origami. The traditional Japanese art form allowed the use of cuts and various shapes of paper, but in modern times, the custom of folding from one uncut square has become dominant. One might think that with such a restrictive set of rules the possibilities would be quite limited. However, even within those restrictions – or perhaps because of them – origami artists have developed numerous styles and techniques for creating extremely complex and/or realistic forms.
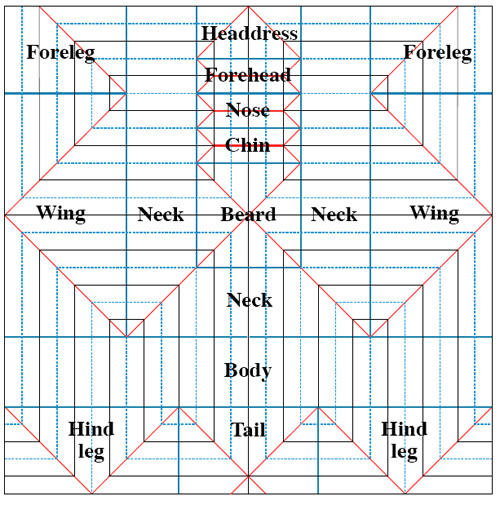
For the Assyrian Bull, I decided to use a style of folding known as “box pleating,” in which the major structural folds of the figure run at multiples of 45°. This technique lets the artist create arbitrarily complex shapes, which makes it ideal for subjects with many appendages. Each part of the model can be represented by some polygon whose angles are multiples of 90°: squares, rectangles, and even T, L, or U-shaped pieces. The artist then fits the different polygons into the square – rather like playing a game of Tetris. One you’ve gotten all the pieces to fit, it is possible to construct the actual creases on which one folds. Figure N shows the plan of the crease pattern; the individual portions of the figure are delineated by blue lines, and the black, dashed, and red lines are the actual creases that get folded.
When you fold up the paper, you don’t get a complete Bull, however; what you get is a shape that in origami is called a base. A base is a pretty abstract shape, but it contains a flap of paper in the right place for every part of the shape. For my base, I created long flaps for the tail, legs, and wings, and several shorter flaps for the different parts of the head. Once you have the base, you apply what are called “shaping folds” – which can be quite complex in their own right.
The photographs accompanying this article illustrate the progression of folding.
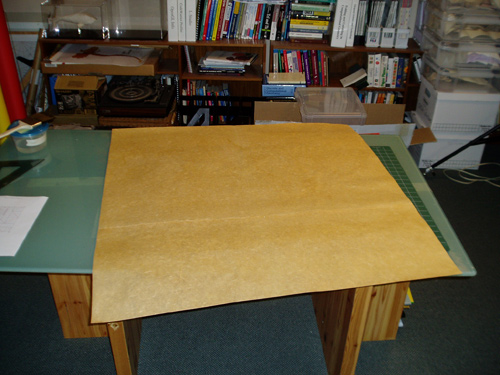
Once I’ve designed the base by drawing its crease pattern (Figure 1), I then transfer that pattern to a square of paper.
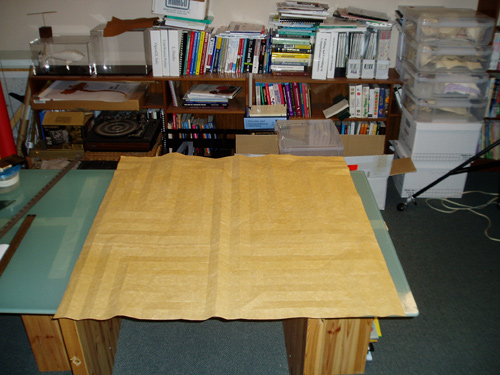
For this folded model, I used a 1-meter square. For the first few hours, I did nothing but fold and unfold, putting each crease of the pattern, in turn, onto the paper. Once all the creases for the base are in place, then comes what is called the “collapse” – in which as many as a hundred creases all come together at once.
When the base is fully collapsed, it takes on a relatively simple shape: in this case, a long, skinny rectangle.
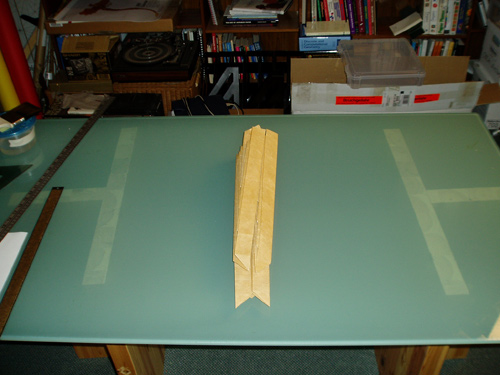
But this simplicity is deceptive, because this shape now contains a flap of paper for every part of the subject. Several hours of folding and otherwise manipulating the flaps of the base ensue; resulting in the finished figure.
